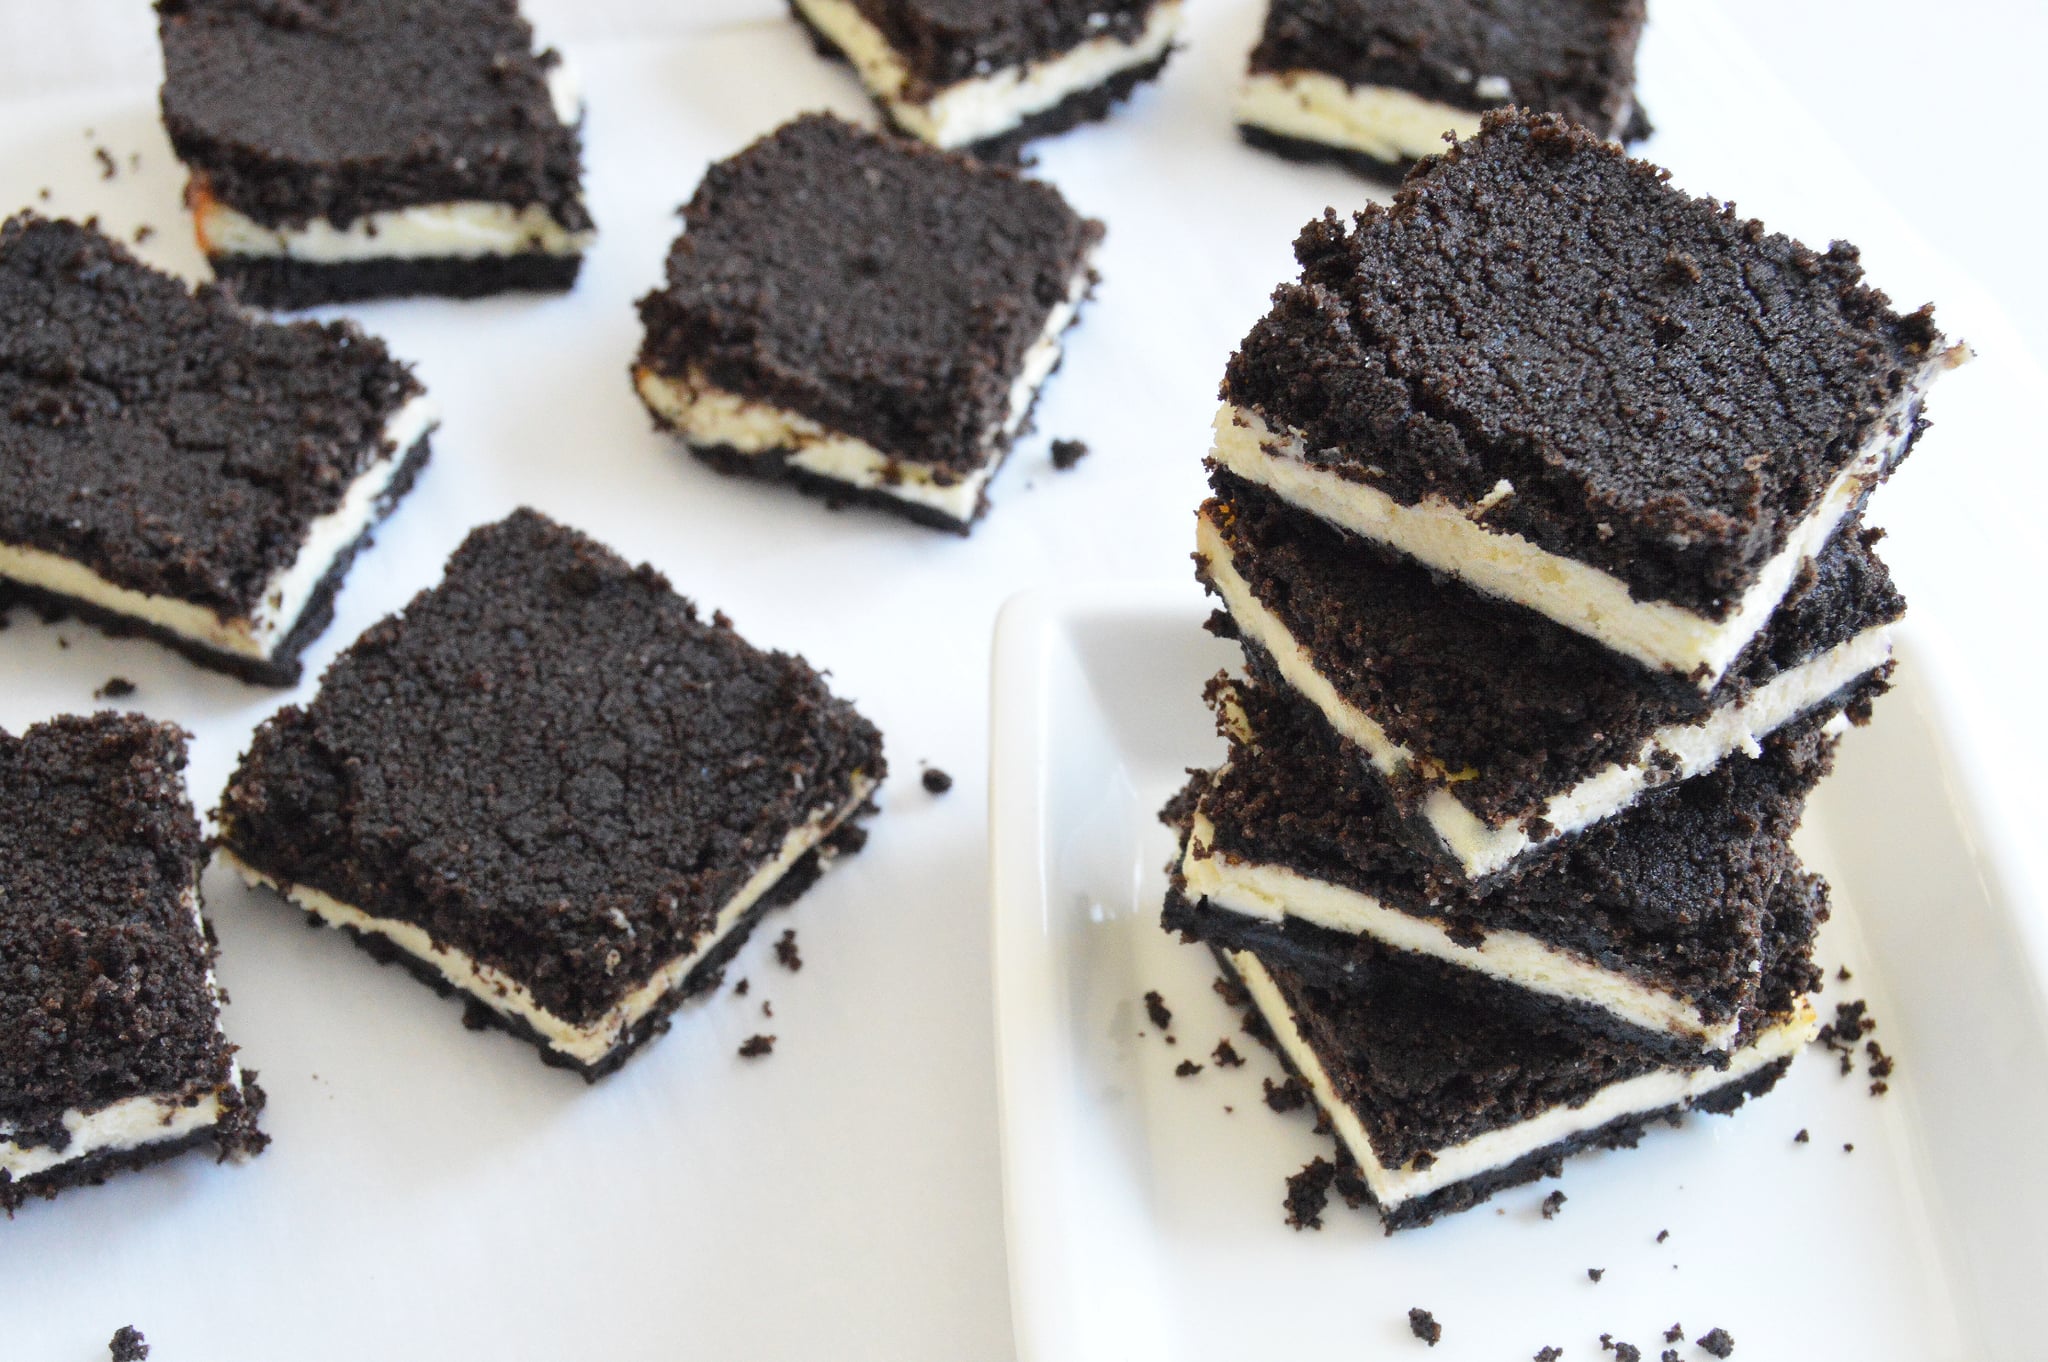
As someone who firmly believes that the creme — not the cookie — is the best part of the Oreo, I was so excited to try this recipe for Oreo cheesecake bars, and I am very happy to share that it did not disappoint! These bars taste exactly like I imagine a Triple Stuf Oreo Cheesecakester would’ve tasted. (In case you don’t remember Oreo Cakesters, they were the soft Oreos discontinued in 2012 and also the snack of my childhood.) They’re the perfect thing to make when you’re dreaming about those Philadelphia Cheesecake With Oreo Cubes that people were talking about last year that are currently only available in South Korea. While I’m bummed I can’t get my hands on them, everything is always better when it’s homemade, right?
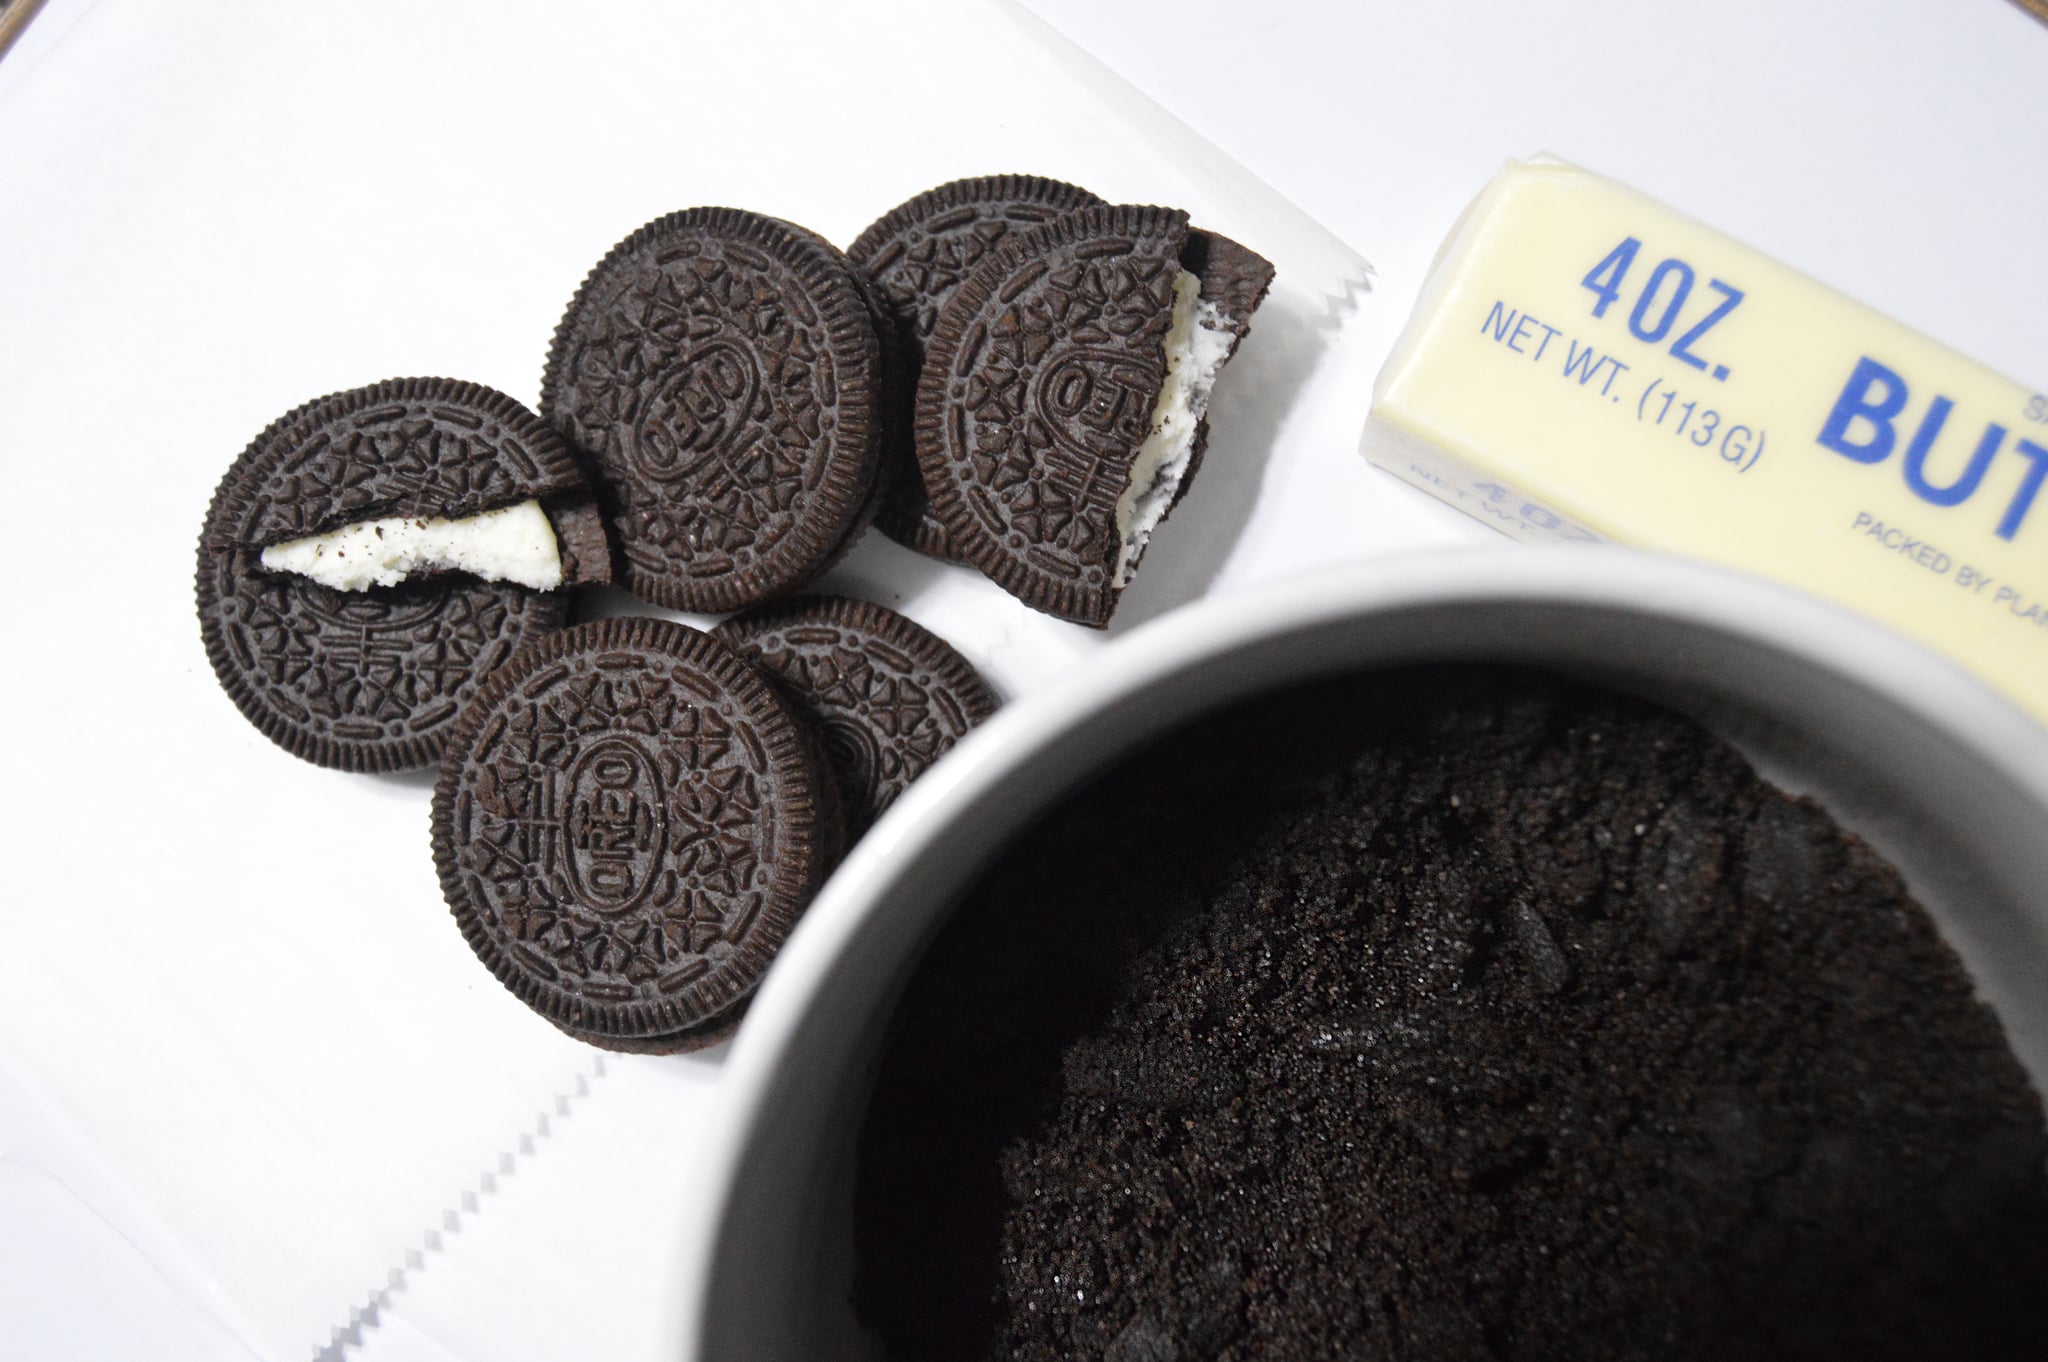
This recipe requires 24 Oreos, or exactly half of a family-size package. That might seem like a lot at first, but do not skimp on the Oreos, because you’ll need enough for the double crust, which is actually the easiest part of the whole process. Typically, Oreo pie crusts require scraping off the creme before pulverizing the cookies, but since this recipe is all about the creme, you won’t need to bother with that step.
The batter, on the other hand, requires a little more attention. The biggest challenge — aside from letting your cheesecake sit in the freezer for six whole hours before it’s finally ready to eat — is breaking up all the lumps in the batter. Just make sure your cream cheese is softened enough before you begin beating everything together, and take it as slowly as possible. This recipe takes a lot of patience, but it’s worth it.
In the end, I think these cheesecake bites can actually be considered Triple Stuf Oreos, because we’ve got the Oreo creme, the cream cheese, and the sour cream. Still on the cookie side of cookie vs. creme debate? I’m betting you’ll change your mind as soon as you try these out for yourself. Read on for the full recipe.


Notes
Don’t remove from the freezer prematurely or the cheesecake bites won’t set properly.
Ingredients
- 24 Oreos
1/4 cup salted butter, melted
1 block (8 oz.) cream cheese, softened
1/4 cup sour cream
2 1/2 tablespoons granulated sugar
1 large egg
1/2 teaspoon vanilla extract
Directions
- Preheat your oven to 350 degrees and line one nine-inch square pan with aluminum foil or parchment paper.
- Add 12 sandwich cookies (do not remove the creme) to your food processor and pulse them into fine crumbs.
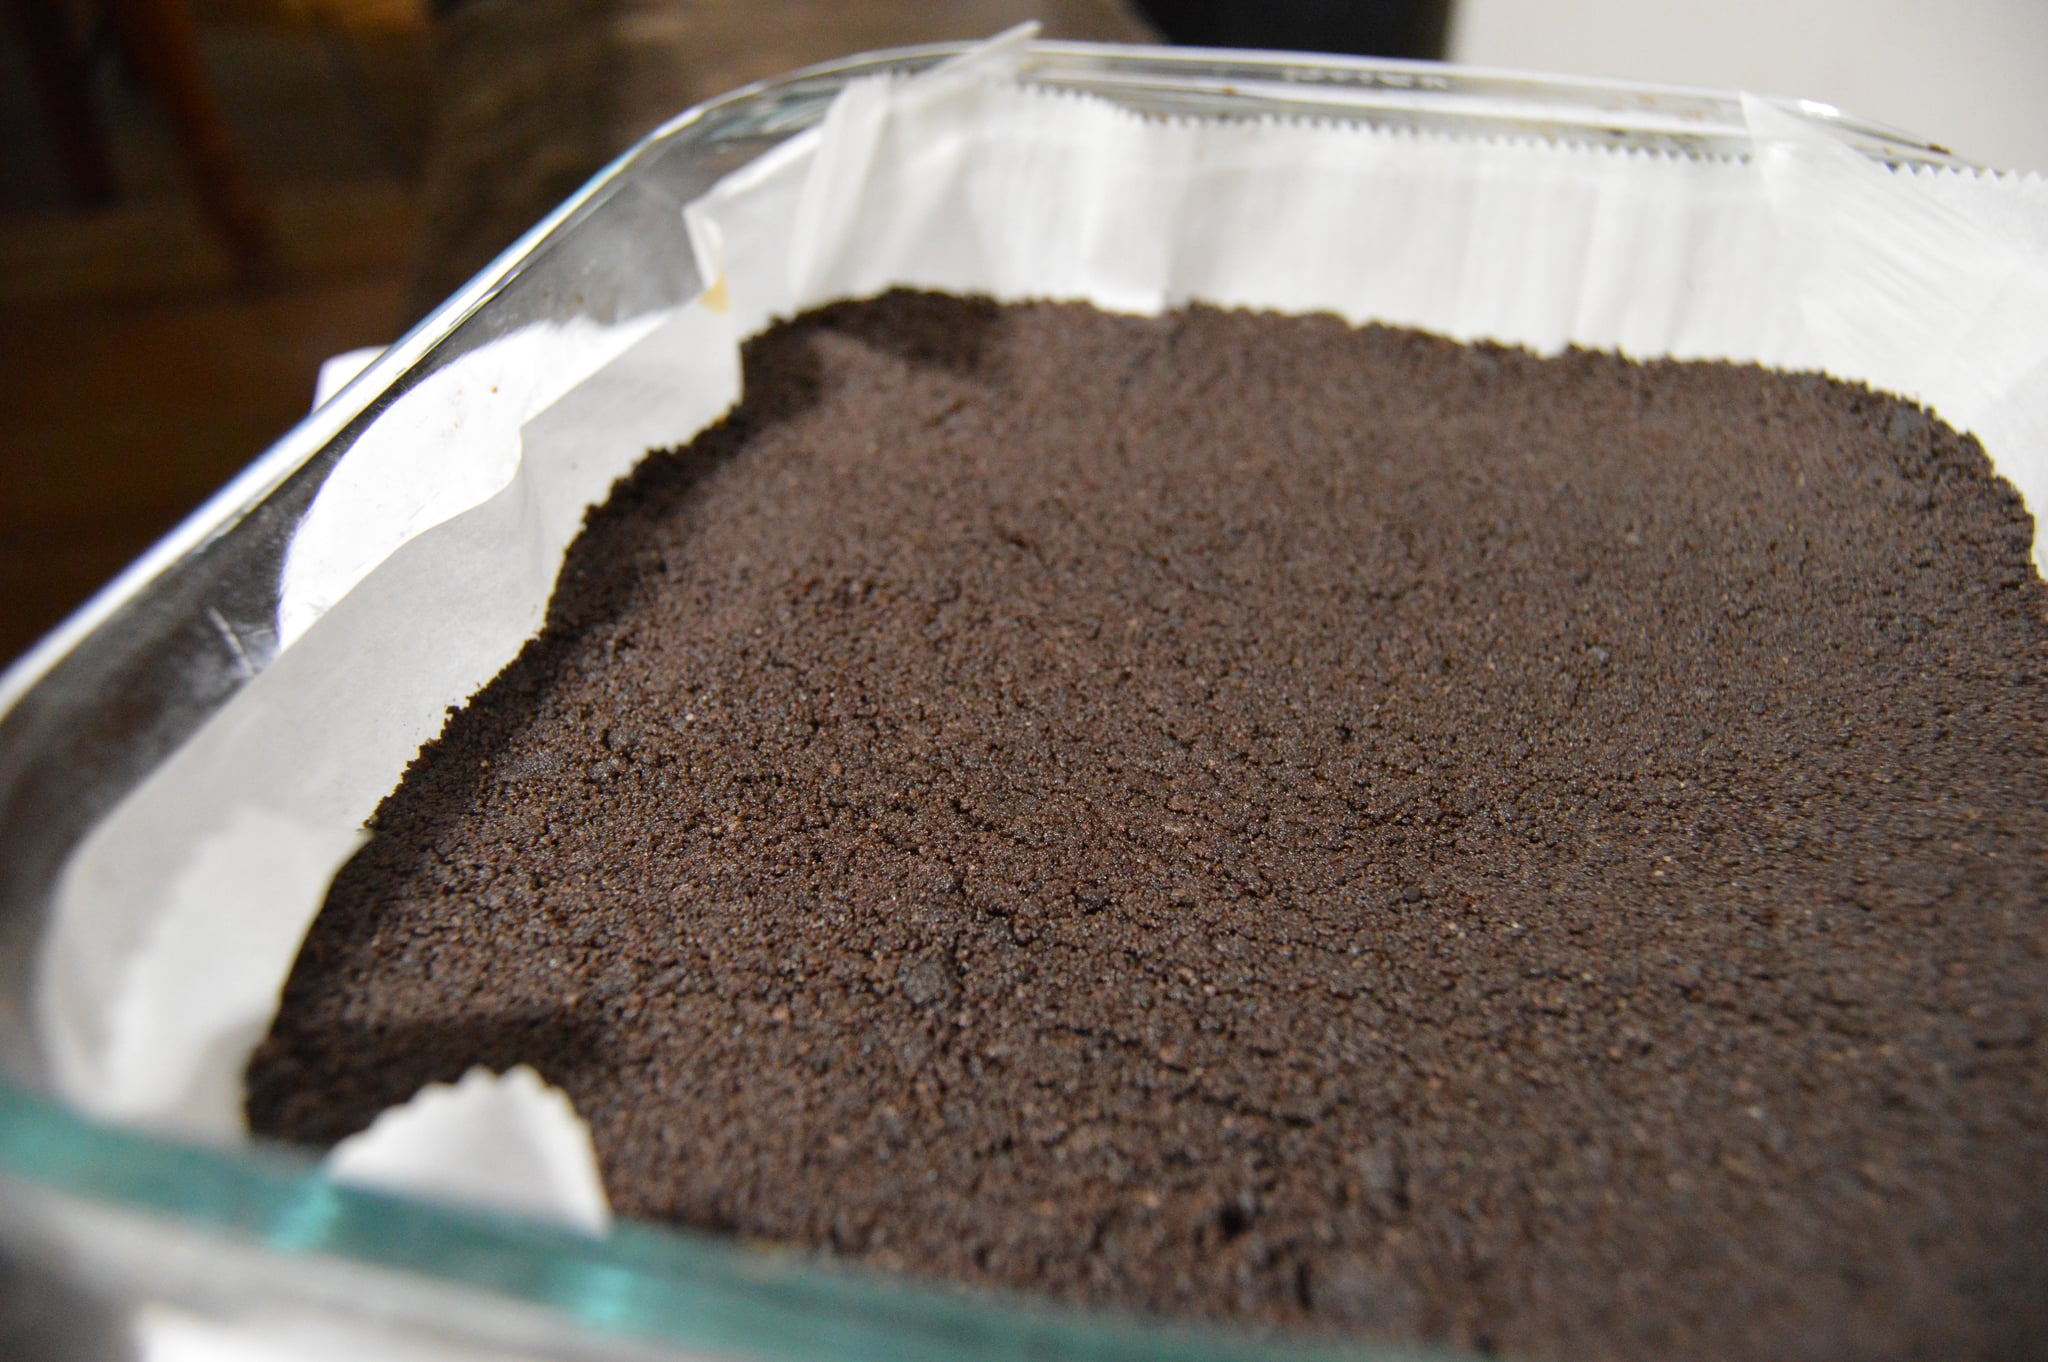
- Combine half of the melted butter (2 tablespoons) with these crumbs until they’re completely saturated.
- Press the crumbs down into the bottom of the cake pan and use the bottom of a measuring cup to pack it in tightly, making sure it’s distributed evenly.
- In a large mixing bowl, beat together the cream cheese, sugar, and egg with a hand mixer on medium speed. After it’s well-combined, mix in the sour cream and vanilla. Beat it until it’s as smooth as possible. Some lumps will remain.
- Pour the filling into the pan and smooth it out.
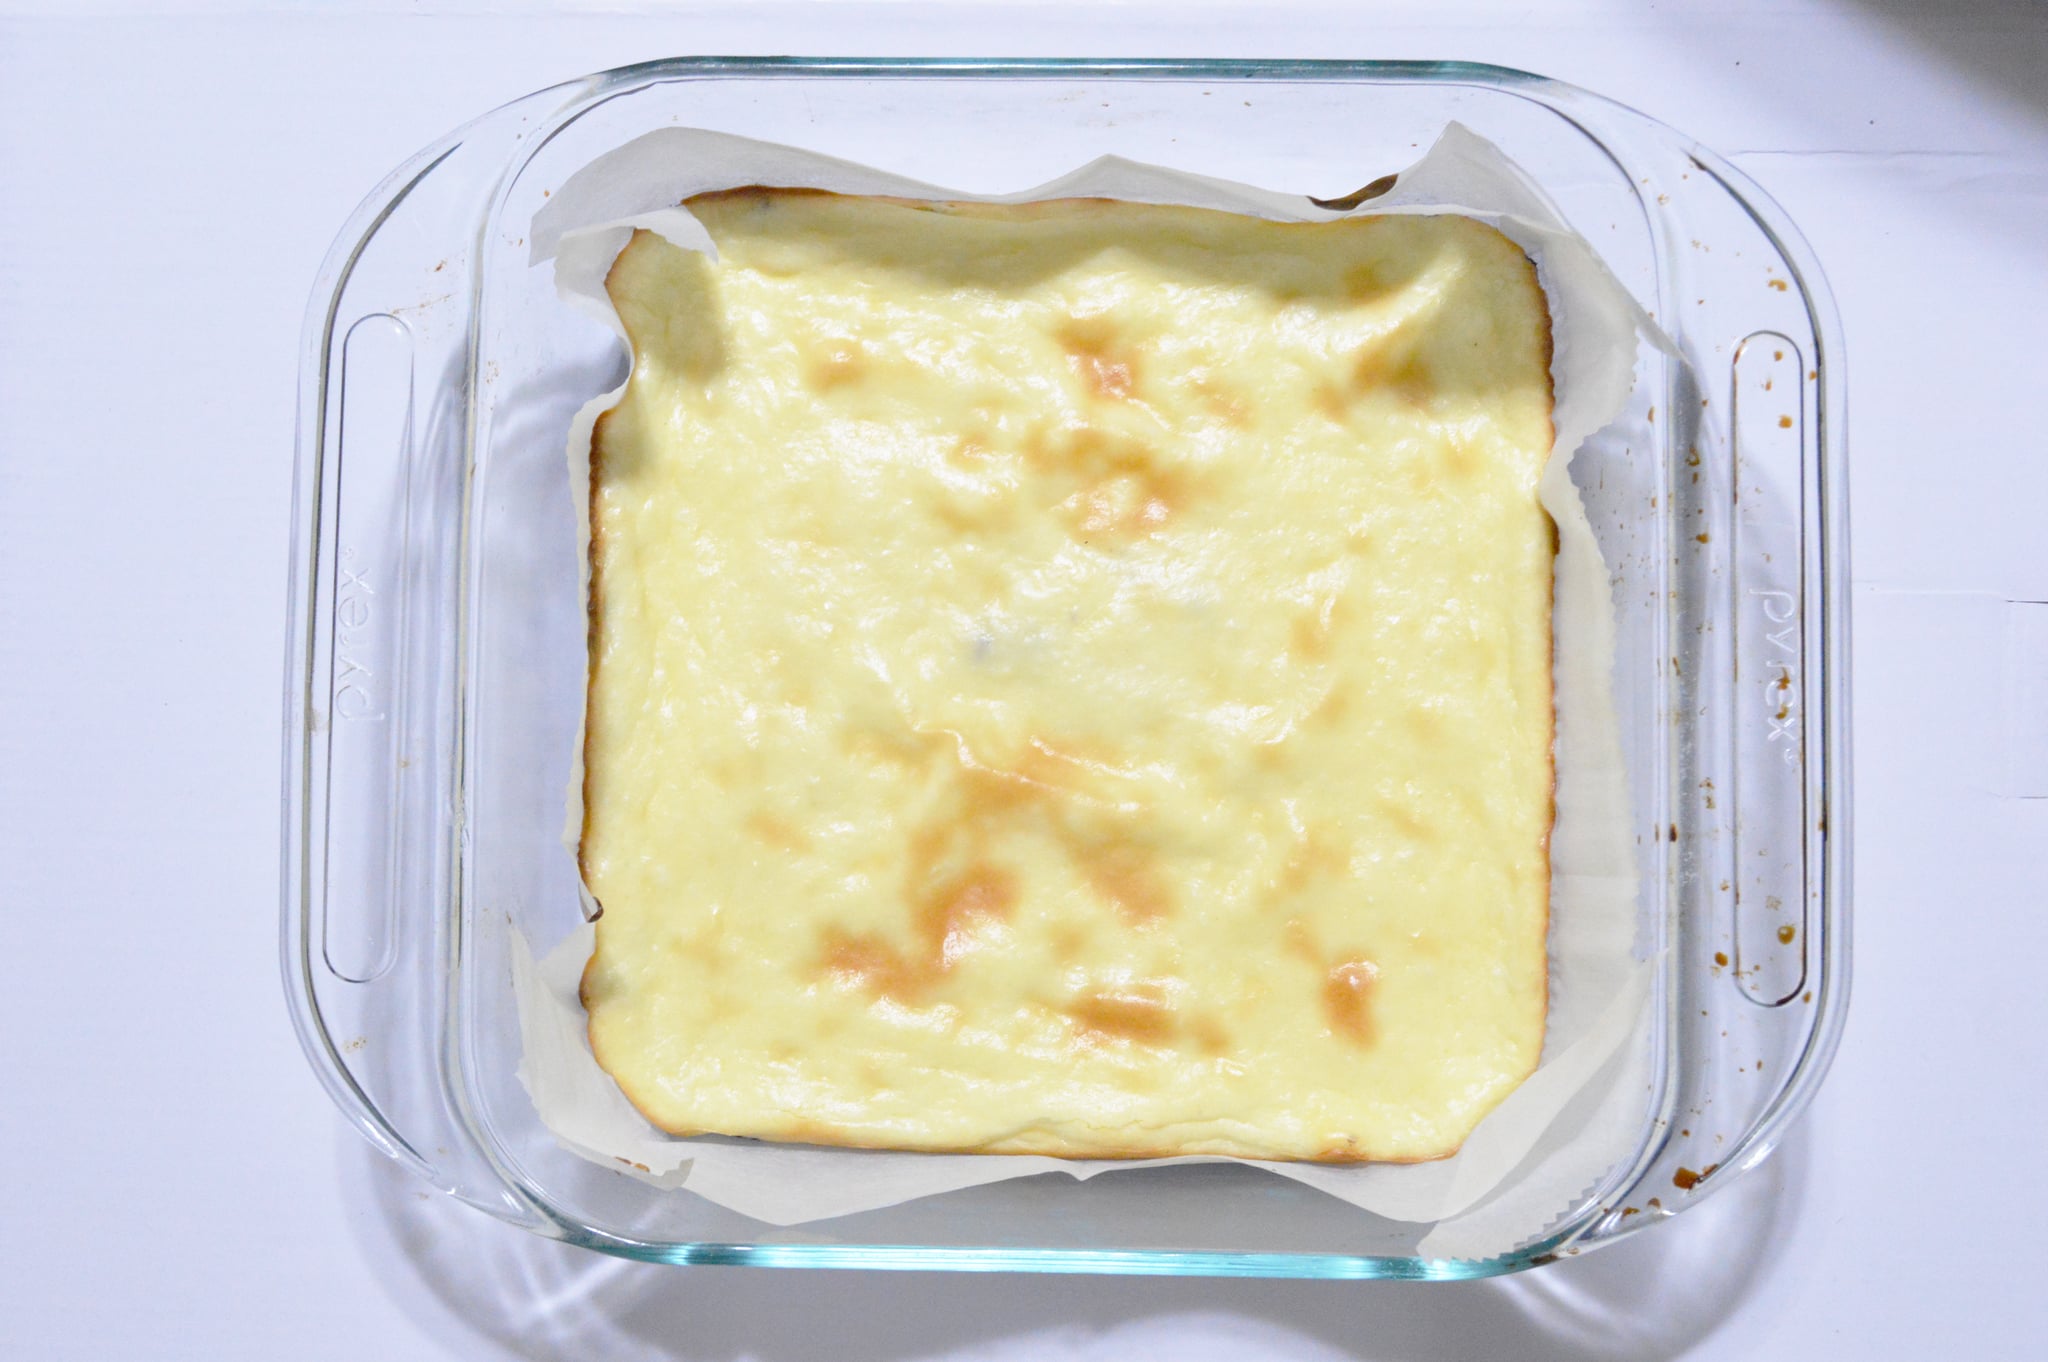
- Bake the pan for 30-35 minutes, until the cheesecake has started to bubble and brown on top.
- While the cheesecake is baking, make the top crust: again pulse 12 cookies in your food processor until they are crumbs. Combine the crumbs with the remaining melted butter and stir well.
- Use a spoon to scatter the cookie crumbs all over the top of the cheesecake while it’s still hot. Use the back of the spoon or a spatula to gently press the crumbs down and out in an even layer, into the cheesecake.
- Cover lightly with a kitchen towel and let cool on the counter for half an hour, then cover tightly and place in the freezer for 4-6 hours.
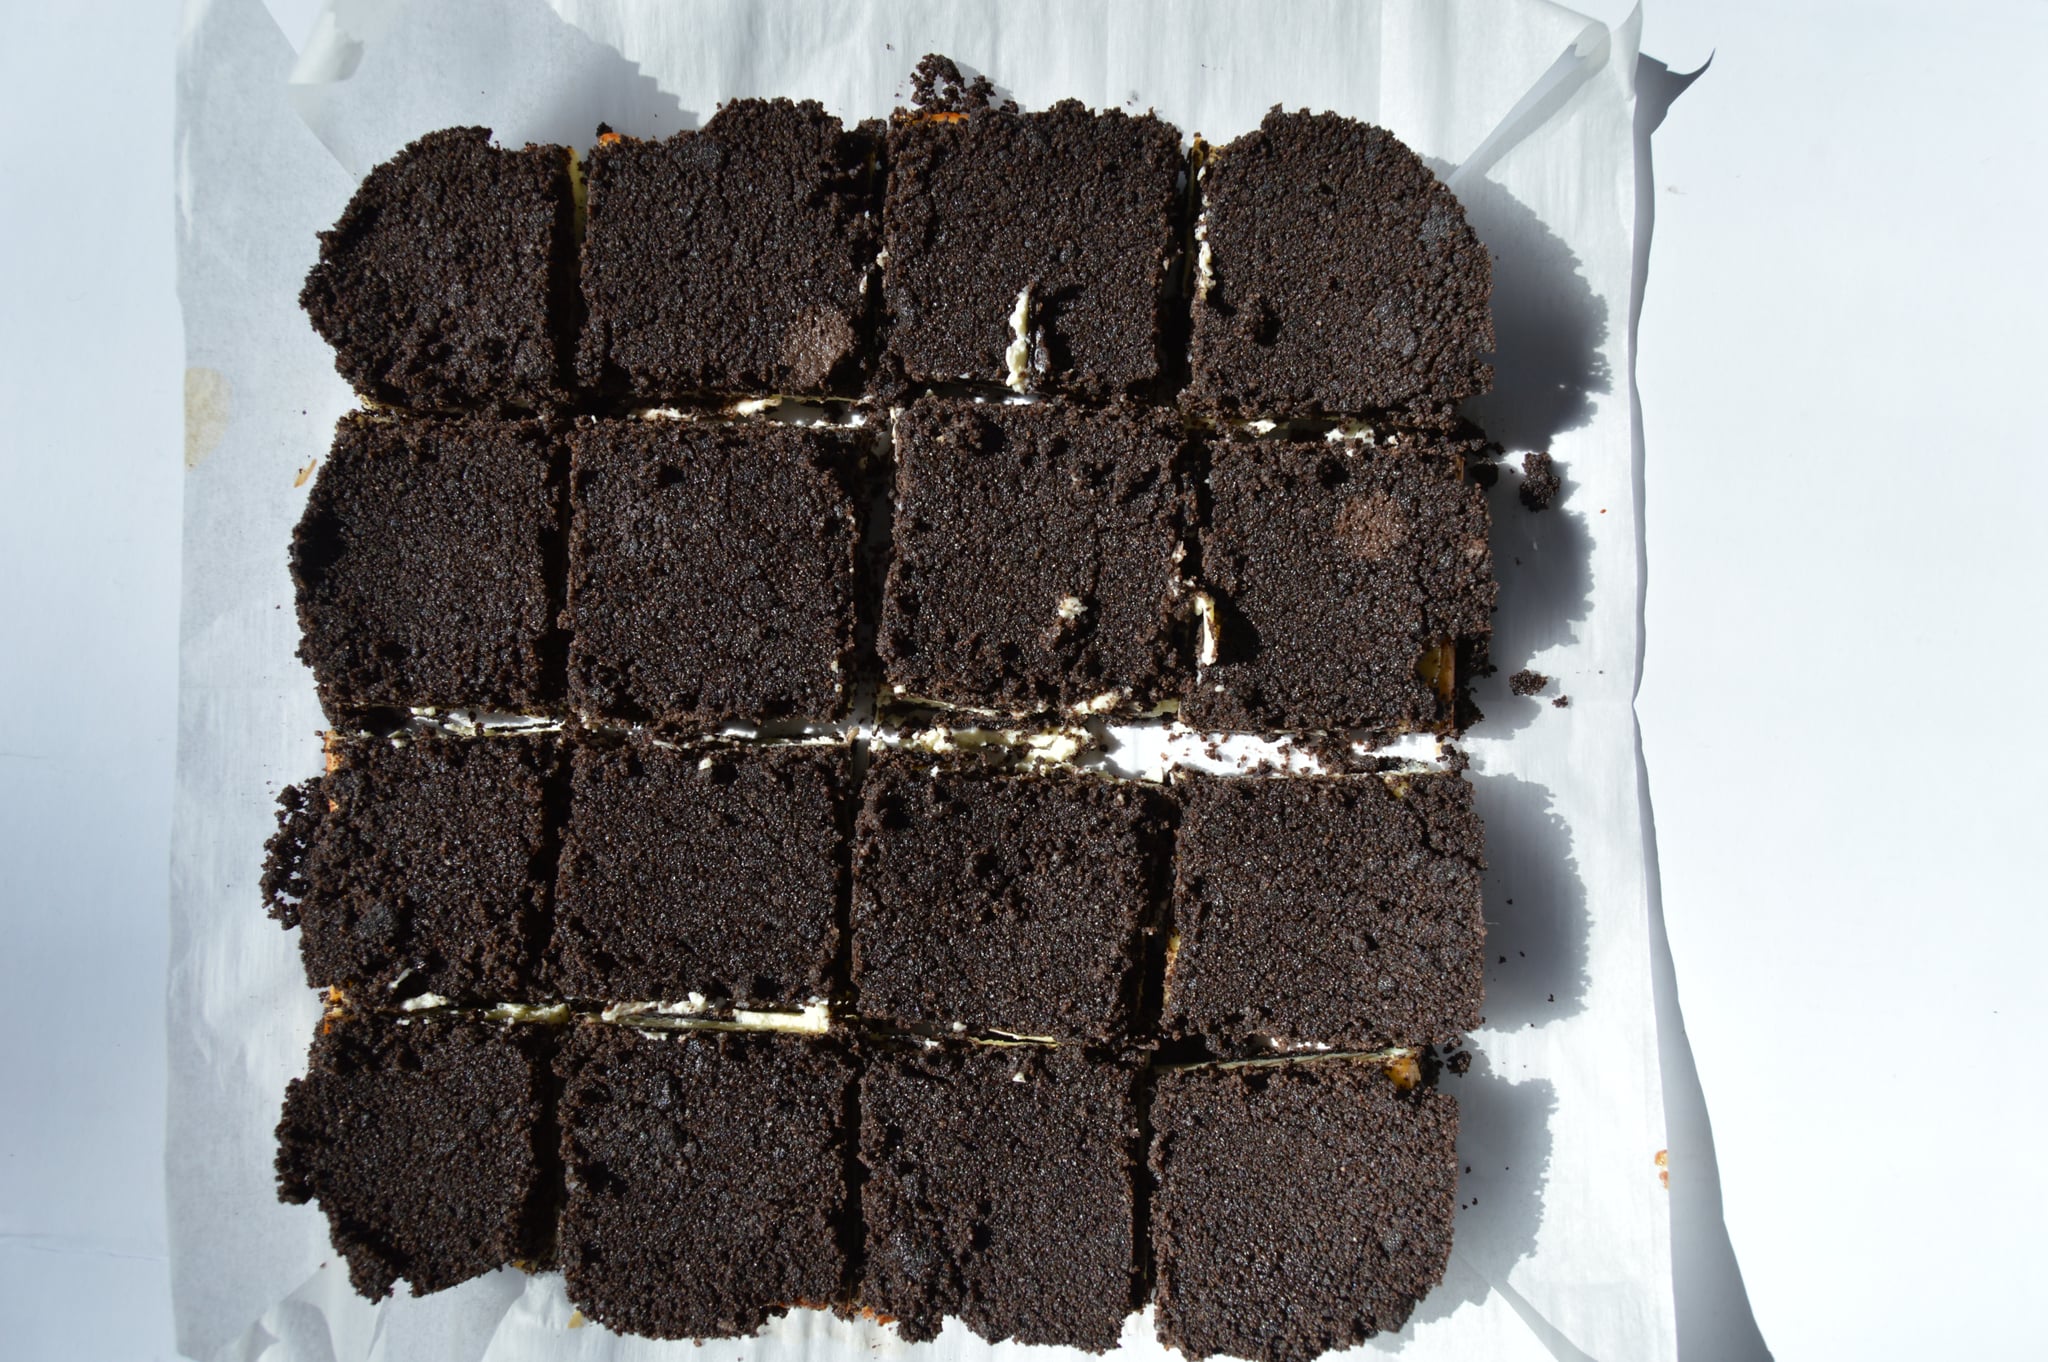
- Once the cheesecake has set and frozen completely, use a sharp knife to cut it into small squares, about 1/2″ or so. Transfer to an airtight container and keep in the freezer for up to two months or the fridge for up to six days.
Information
- Category
- Desserts
- Yield
- 16 Bites
Image Source: POPSUGAR Photography / Kalea Martin

:max_bytes(150000):strip_icc()/types-of-engagement-ring-settings-guide-2000-86f5b8f74d55494fa0eb043dee0de96e.jpg)

More Stories
Low Carb Gluten Free Apple Crisp
Vegetarian Shepherd’s Pie Recipe – Pinch of Yum
Our Favorite Broccoli Cheddar Soup